If you've ever wondered how to achieve the perfect concrete surface profile for your projects, you're in the right place. In this blog, we'll take you through the ins and outs of concrete surface profile, sharing expert tips and a straightforward step-by-step approach.
From understanding the significance of concrete surface profile to exploring different measurement techniques and tools, we've got you covered. Whether you're a contractor, builder, or passionate DIY enthusiast, this guide will equip you with the knowledge and practical know-how for Concrete Surface Profiling.
So, let's dive in and discover the secrets of creating the ideal concrete surface profile, one step at a time.
Understanding Concrete Surface Profile
To ensure the success and longevity of any concrete coatings project, it's crucial to understand the concept of concrete surface profile. The concrete surface profile refers to the texture and roughness of the surface, which directly impacts the adhesion and bonding of coatings, overlays, stains, or repair materials.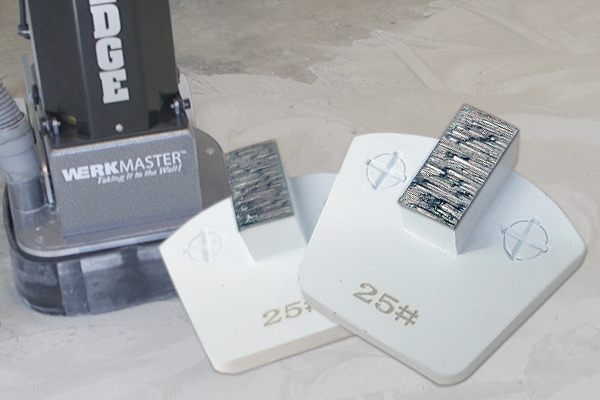
Why is concrete surface profile significant?
When coatings or overlays are applied to a concrete surface, they must adhere properly to ensure durability and prevent delamination or premature failure. The concrete surface profile is key to achieving strong adhesion between the substrate and the applied material.
The International Concrete Repair Institute (ICRI) has developed the Concrete Surface Profile (CSP) scale as a measure of surface roughness. This scale ranges from CSP 1 (nearly flat) to CSP 10 (very rough). Each CSP level represents the average distance from the peaks to the valleys on the surface.
Let's provide a quick overview of the different CSP levels:
CSP 1: This level represents a nearly flat surface profile achieved through acid etching.
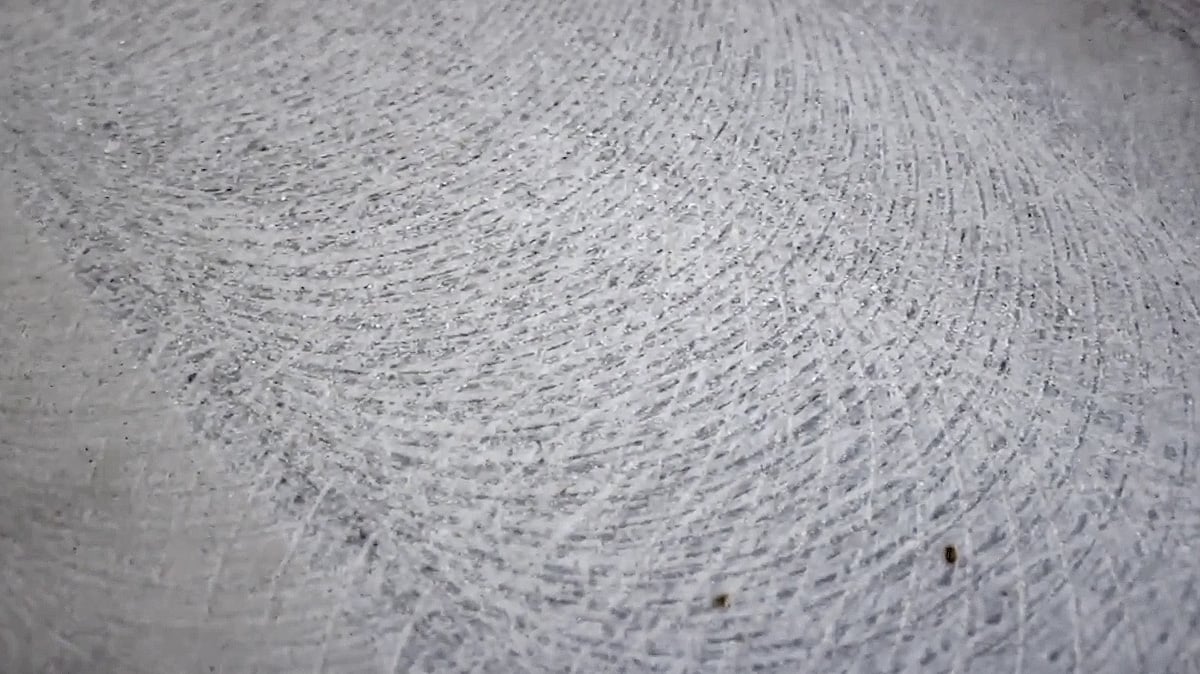
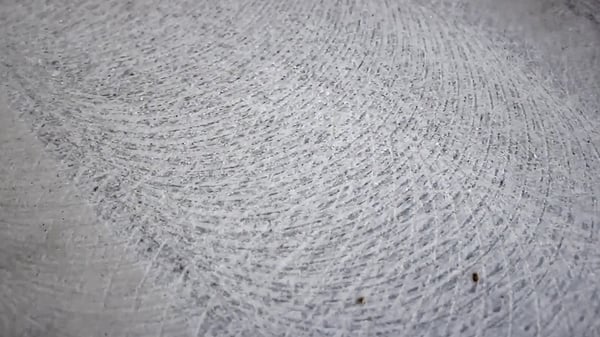
CSP 2: Grinding is used to achieve this level, resulting in a slightly rougher surface compared to acid etching.
CSP 3: Light shot-blasting is employed to create a textured surface profile.
CSP 4: Light scarification, achieved through mechanical tools, produces a rougher texture on the surface.
CSP 5: Medium shot-blasting provides a more aggressive texture than light shot-blasting.
CSP 6: Medium scarification involves moderate roughening of the surface using mechanical tools.
CSP 7: Heavy abrasive blasting creates a highly textured and rough surface profile.
CSP 8: Scabbling, using pneumatic hammers or chisels, results in a rough and irregular surface texture.
CSP 9: Heavy scarification or roto milling produces an extremely rough surface profile.
CSP 10: This level involves using a handheld concrete breaker followed by abrasive blasting, resulting in the highest level of roughness on the CSP scale.
Achieving the desired CSP level depends on the project requirements and the type of overlay or coating to be applied. Proper understanding and assessment of the CSP scale are crucial for selecting the appropriate surface preparation techniques and tools to achieve optimal adhesion and the desired aesthetic results.
In the next section, we will guide you through a step-by-step approach to creating the ideal concrete surface profile.
Step-by-Step Guide to Creating the Ideal Concrete Surface Profile
Step 1: Surface preparation and cleaning
The first step in creating the ideal concrete surface profile is thorough surface preparation and cleaning.
This involves removing any dirt, debris, coatings, or contaminants from the surface. Depending on the condition of the surface, you may need to use techniques such as pressure washing, scrubbing, or chemical cleaning to achieve a clean substrate. Proper cleaning is vital as it allows for better adhesion and ensures the success of subsequent profiling techniques.
Check out the WerkMaster Surface Preparation videos.
Step 2: Concrete surface profiling techniques
After the surface is clean, it's time to choose the appropriate profiling technique based on the desired concrete surface profile.
Some standard techniques include shot-blasting, scarifying, grinding, or acid etching. These methods are used to modify the texture and roughness of the concrete surface to achieve the desired CSP level. Select the technique that suits your project requirements and follow the manufacturer's instructions for equipment setup and operation.
Step 3: Applying the Concrete Surface Profile Chart
Once the profiling technique is complete, referring to the Concrete Surface Profile (CSP) chart developed by the ICRI is crucial.
The chart visually represents the different CSP levels and helps you determine the achieved profile. Compare the texture of your prepared surface with the corresponding CSP level on the chart to ensure it meets the requirements of your project.
Step 4: Evaluating Concrete Surface Profile Samples
To verify the achieved concrete surface profile, it's recommended to collect samples from different areas of the prepared surface.
These samples can be used for visual and tactile evaluation. Assess the samples by running your fingers over the surface to check for roughness and compare them to the desired profile. This evaluation will help ensure consistency and quality across the entire surface.
Step 5: Achieving the desired Concrete Surface Profile
Based on the evaluation of the profile samples, determine if any adjustments are needed to achieve the desired concrete surface profile.
If the profile falls short, consider revisiting the profiling technique or using additional methods to increase the roughness. Conversely, if the profile is too aggressive, you may need to refine the surface using grinding or other smoothing techniques. Aim for a profile that aligns with your project specifications and the type of overlay or coating to be applied.
Recommended read: Concrete Grinder 101: The Insider's Guide to Concrete Grinding
Techniques and Tools for Measuring Surface Profile
Accurately measuring the surface profile of a concrete surface is crucial to ensure that it meets the desired requirements for adhesion and coating application. Two commonly used techniques for measuring surface profiles are rubber comparator chips and the pull-off adhesion test.
Let's explore these methods in more detail:
Rubber Comparator Chips
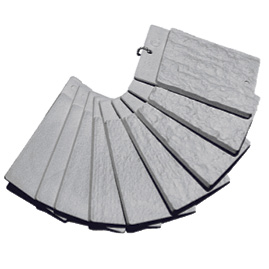 Rubber comparator chips are widely used to visually assess the roughness and texture of a concrete surface.
These chips are available in different grades that correspond to various CSP levels. Each chip represents a specific level of surface roughness, allowing for a quick and visual comparison between the prepared surface and the desired profile. The rubber comparator chips are pressed against the concrete surface, and the closest match is selected to determine the achieved profile.
Pull-off Adhesion Test
The pull-off adhesion test is a quantitative method used to evaluate the bond strength between a coating or overlay and the concrete surface.
This test involves attaching a specialized adhesion tester to the coated surface and applying a tensile force. The force gradually increases until the coating delaminates from the concrete substrate. The measurement obtained during the test provides an indication of the adhesion strength, which is directly related to the surface profile.
Note: It's important to note that both rubber comparator chips and the pull-off adhesion test are complementary methods, with each providing valuable information about the surface profile. Visual evaluation with rubber comparator chips offers a quick assessment of the roughness, while the pull-off adhesion test provides a quantitative measurement of the adhesion strength.
Ready to achieve the perfect Concrete Surface Profile?
No matter what CSP profile you are aiming for, WerkMaster has got you covered with its range of tooling options.
If you're looking to achieve a CSP 5 or higher, our Bush Hammer tooling is perfect for the job. Our 16-grit metal bond tools can help you achieve a CSP 3 profile for garage floor coatings. With WerkMaster's tooling options and the step-by-step approach outlined in this article, you have everything you need to create the perfect concrete surface profile.
Let WerkMaster's tools be your trusted companion on the journey to exceptional concrete surface profiles.
